Disclaimer: I am not affiliated with any of the brands or products mentioned in this post. The choices reflect the real-world decisions made for the Skill-Wanderer project based on its specific needs and constraints.
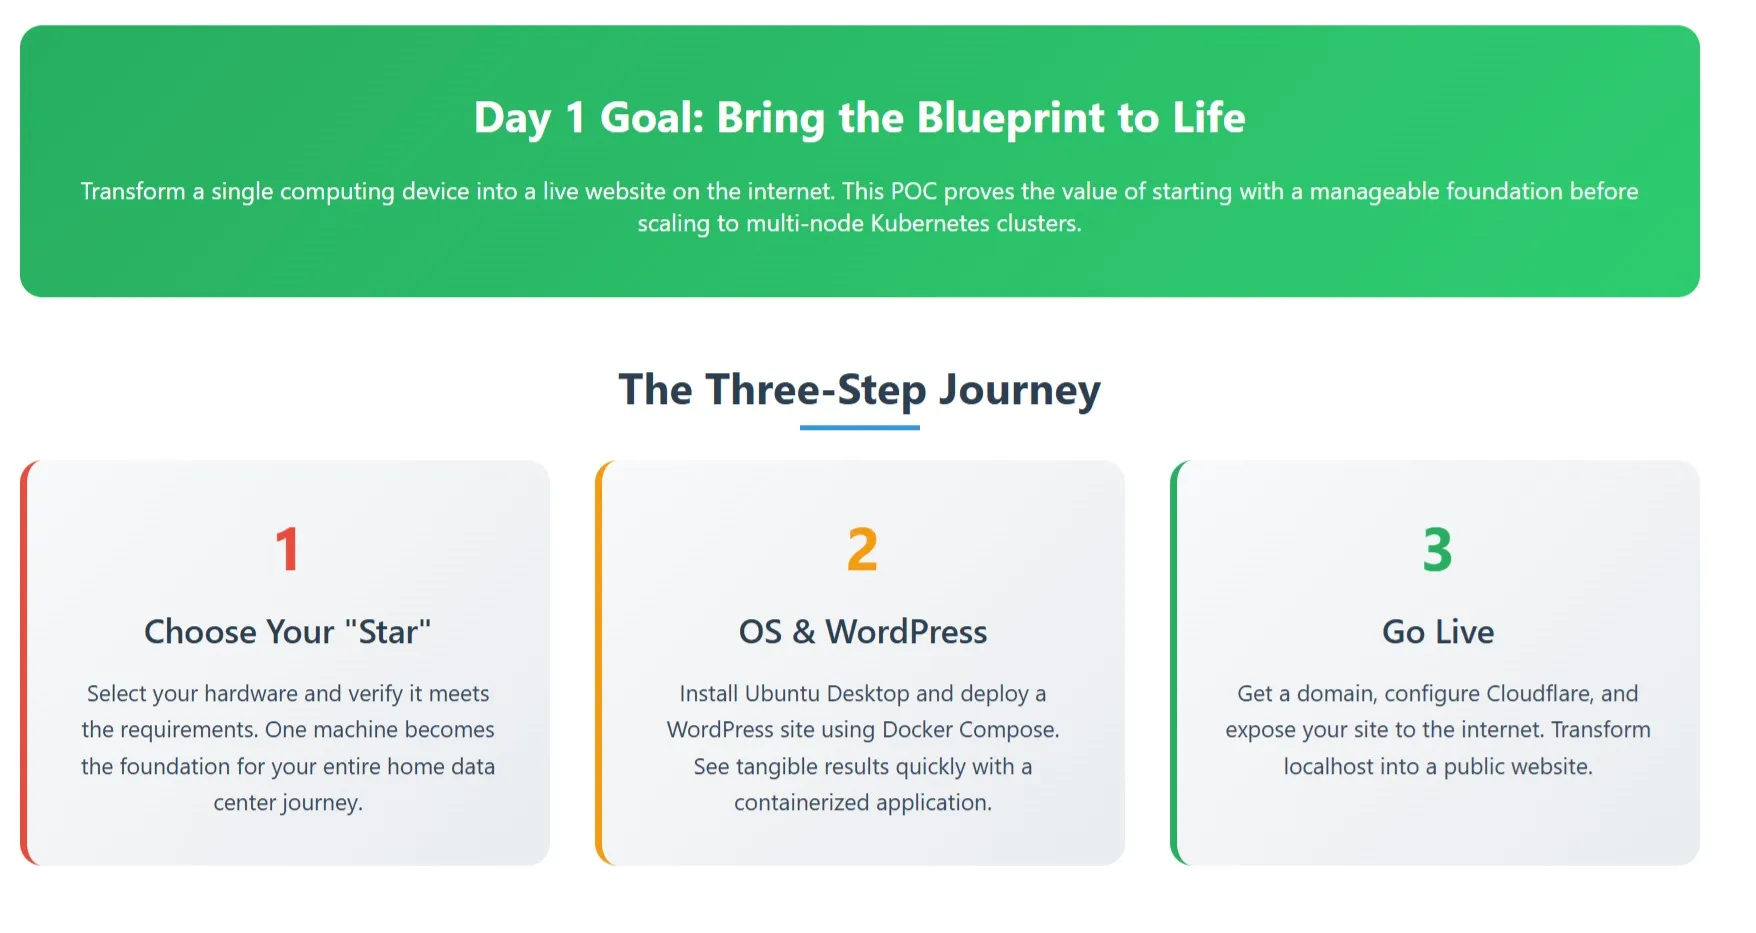
📊 Visual Summary: Want a quick overview? Check out our Day 1 POC infographic that highlights the three-step journey from hardware to live website.
Welcome back to the “Chronicles of a Home Data Center”! In Day 0, we meticulously crafted our blueprint. Today, on Day 1, we bring that blueprint to life.
Now, a quick note on my personal approach. Since I already know what I am doing, my intention from the start was to build a multi-node Kubernetes cluster. Distributed computing allows you to scale horizontally, a topic I’ll talk more about in a future post.
However, as promised, this series is a guide. For today, we’ll focus on a Proof of Concept (POC) that I partially skipped but is the most crucial step for anyone starting out. Whether you’re like me and intend to build a multi-node cluster, or you plan to run your setup on a single machine, this is the perfect place to start. What we build today can always be scaled up later—that’s the beauty of agile development.
For this Day 1, we will focus on one computer device. So, choose one machine to be the star of the show.
Watch the Video Version or Listen to the Podcast: If you prefer video content, here’s the complete video walkthrough of this Day 1 practical implementation:
Or if you prefer audio format, you can listen to the podcast version on Spotify:
Step 1: Choosing Your “Star” and Checking the Specs
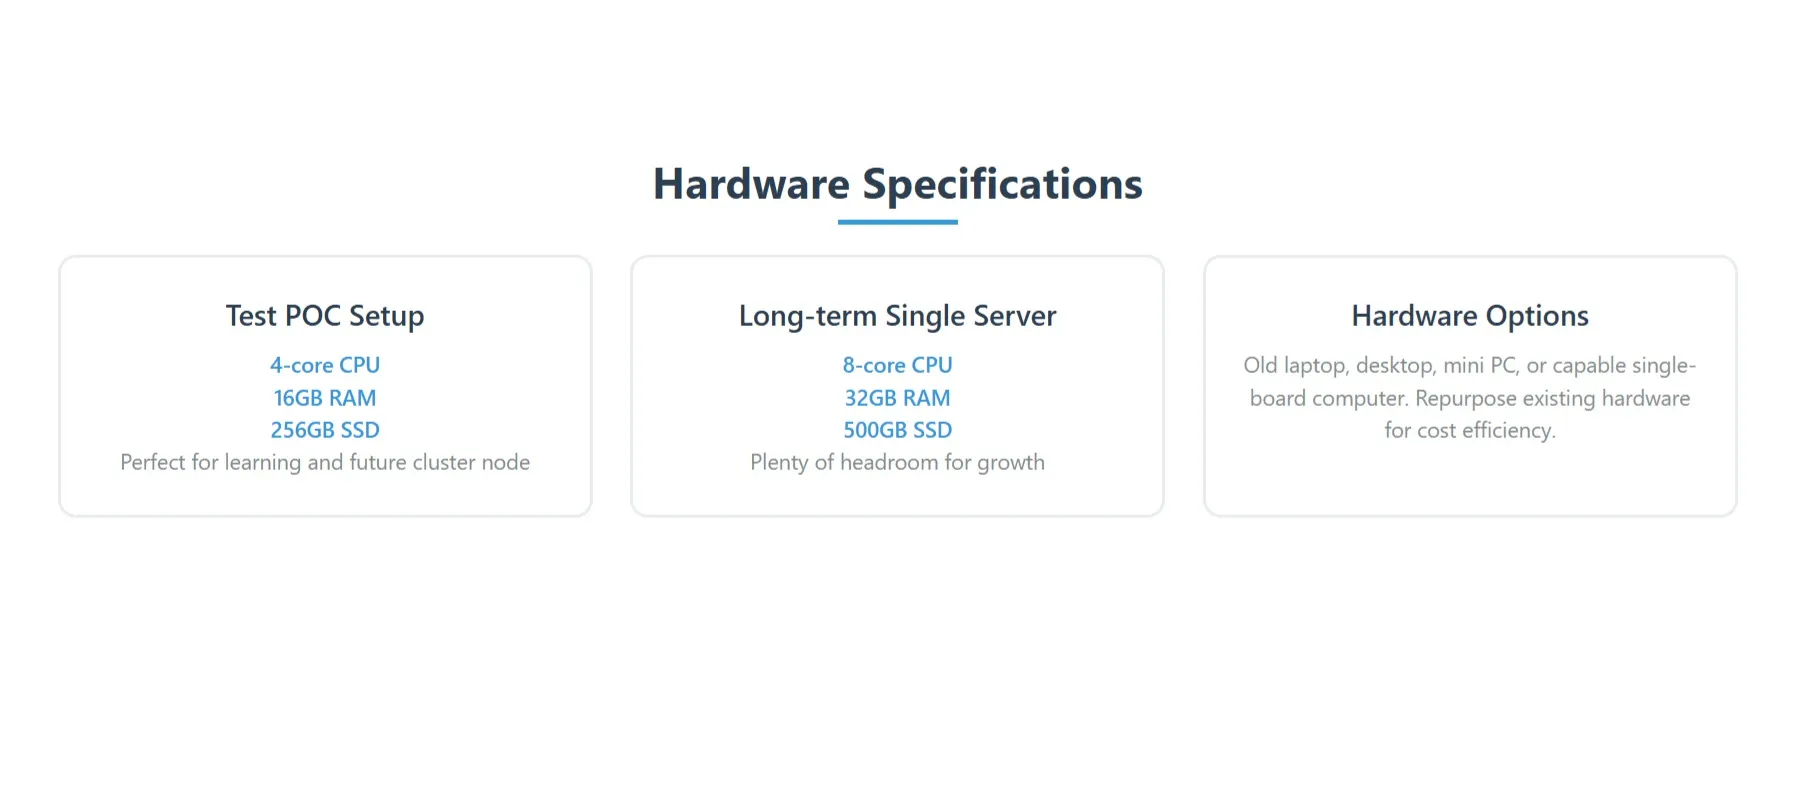
Before we begin, let’s ensure your chosen hardware is up to the task. You can use an old laptop, desktop, mini PC, or even a capable single-board computer.
For a test POC (and a future cluster node): Aim for at least a 4-core CPU, 16GB of RAM, and a 256GB SSD.
For a long-term single server: If you know your project will stay on this one machine, I’d recommend a bit more power. Nowadays, an 8-core CPU, 32GB of RAM, and a 500GB SSD are relatively cheap and will give you plenty of headroom.
Step 2: The Blueprint in Action - OS and WordPress
With your hardware ready, the blueprint is quite straightforward. We’ll install an operating system and then our first application.
Install the Operating System
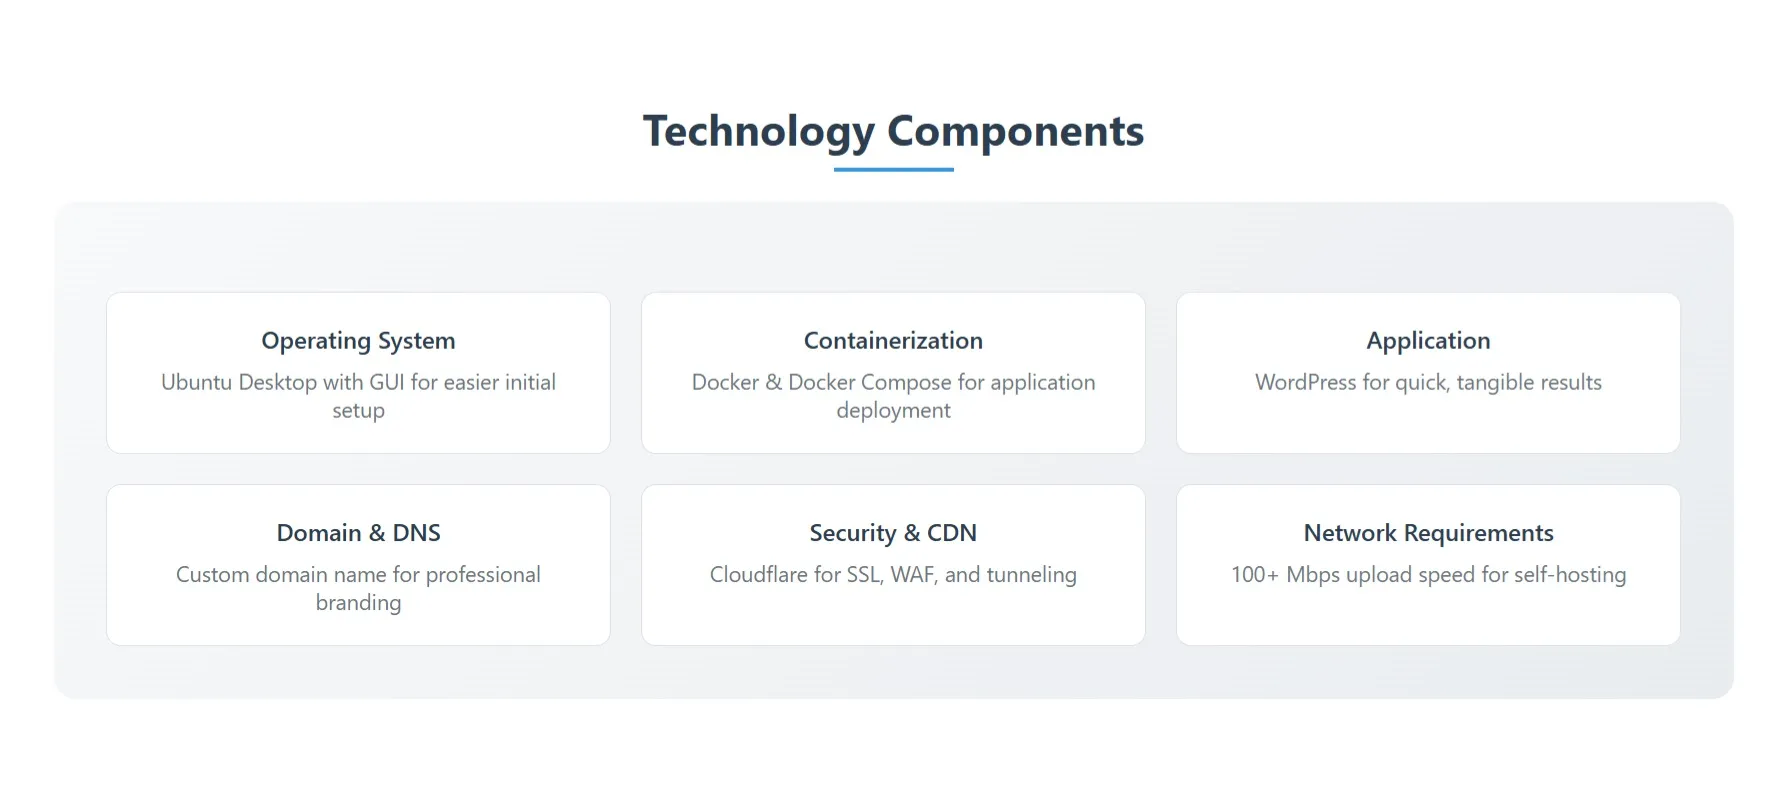
You should install Ubuntu Desktop with its GUI. Especially if you have only worked with macOS or Windows before, the graphical interface will make the initial setup much less scary than a command-line-only server.
Deploy Your First Website
Next, you need to install Docker and use Docker Compose to deploy a WordPress site. Why WordPress? It’s a quick and easy way to see a tangible result—your own live website! It’s not hard to ask an AI to help you compose a Docker Compose file; I recommend using Claude for this.
However, you should still learn a little bit about Docker. I intend to make a course about this, but for now, some searching on Google and chatting with an AI should be enough to get the basics. It is not very hard.
A Quick Tip for the Future: Modern Kubernetes (K8s) no longer works directly with Docker as a container runtime using Docker Shim. However, you can still make it work using cri-dockerd, so if you learn Docker now and intend to migrate to K8s later, it can still be done.
Once you’ve verified that your local WordPress container is working perfectly, it’s time to show it to the world.
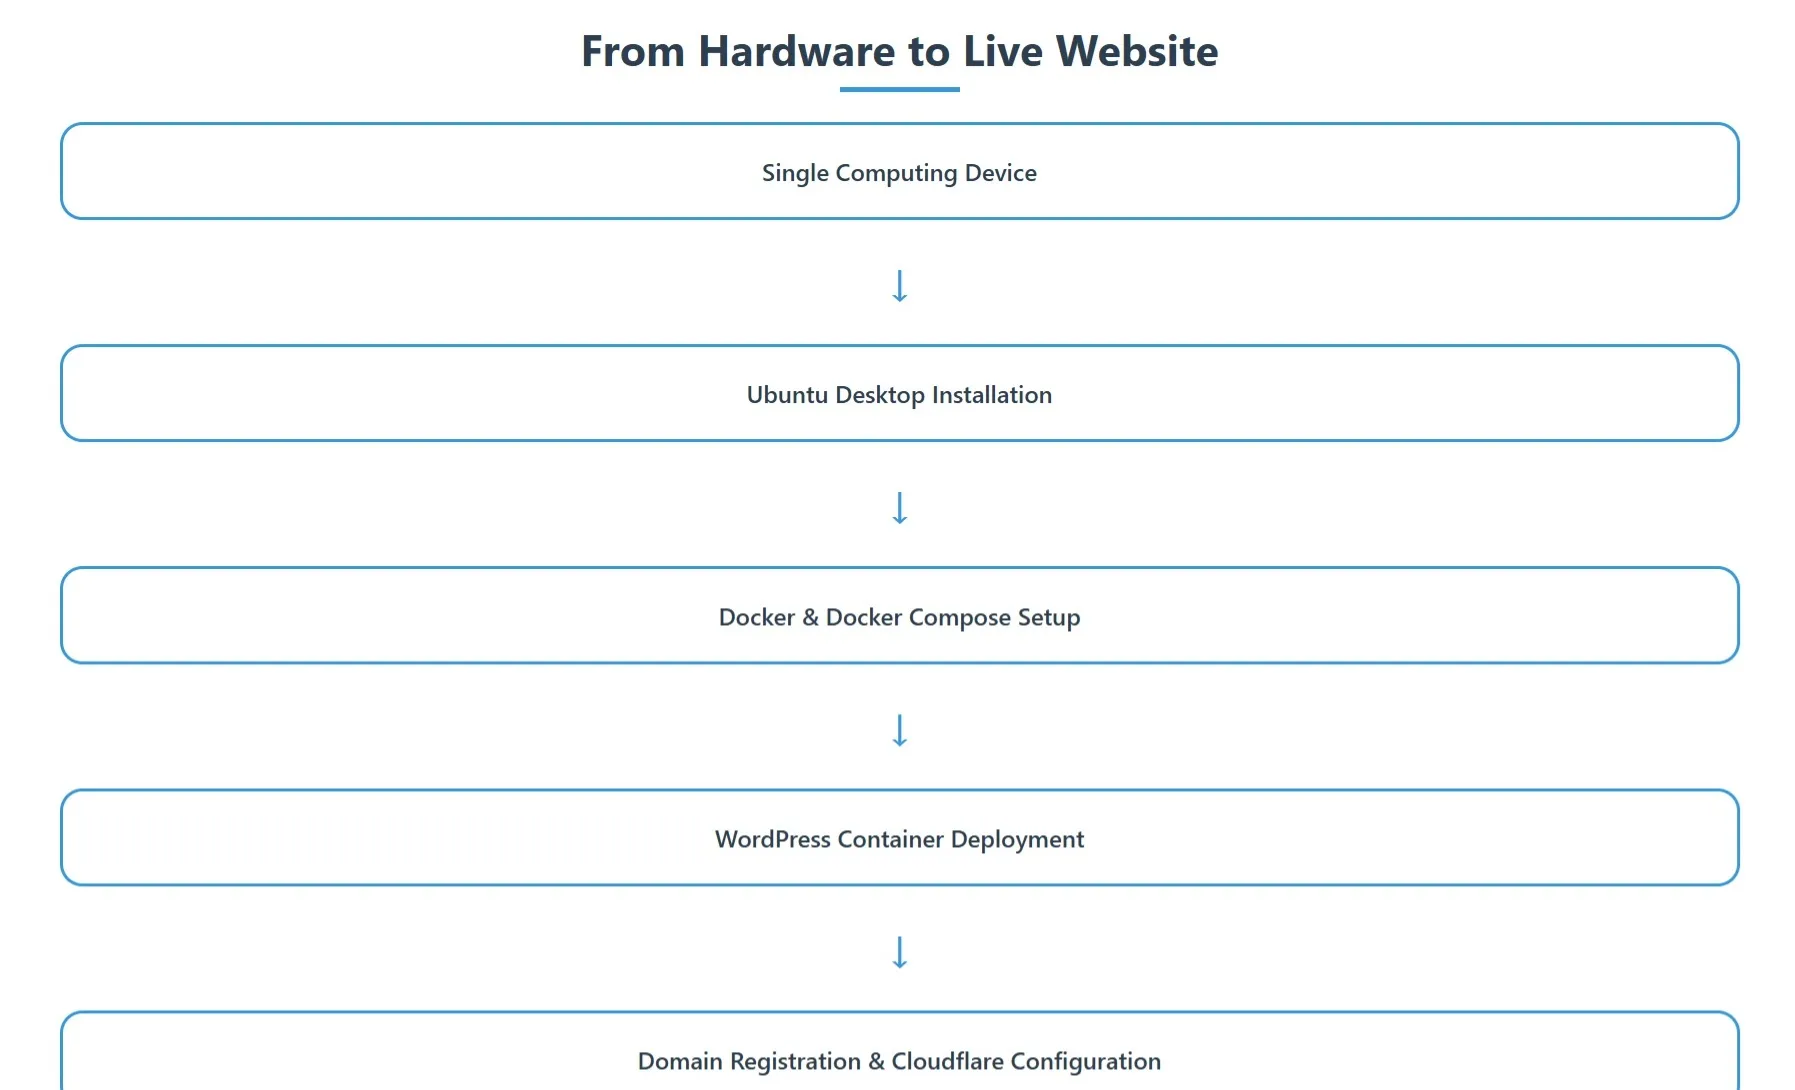
Step 3: Going Live - From Localhost to the World
Get a Domain Name
First, you have to buy a domain name. This is a no-brainer. While you can use a subdomain from another service, for your brand—whether personal or business—I’ve found it does more harm than good.
Connect to the Internet
There are two main ways to do this. The first is by having a static IP. Check with your internet service provider; if you’re on a business plan, a static IP might be included. For folks like you and me on a home internet plan, that brings us to the second way: using a service like Cloudflare Tunnel as a Dynamic DNS or buying a static IP from your provider, which can get quite pricey each month (it costs the same as my entire monthly home internet plan).
The Cloudflare Advantage
Whatever you choose, I still recommend you use Cloudflare. You will get a free SSL certificate, a Web Application Firewall (WAF), a good caching plan, and an edge proxy server. This will also help you avoid some nasty cyber attacks.
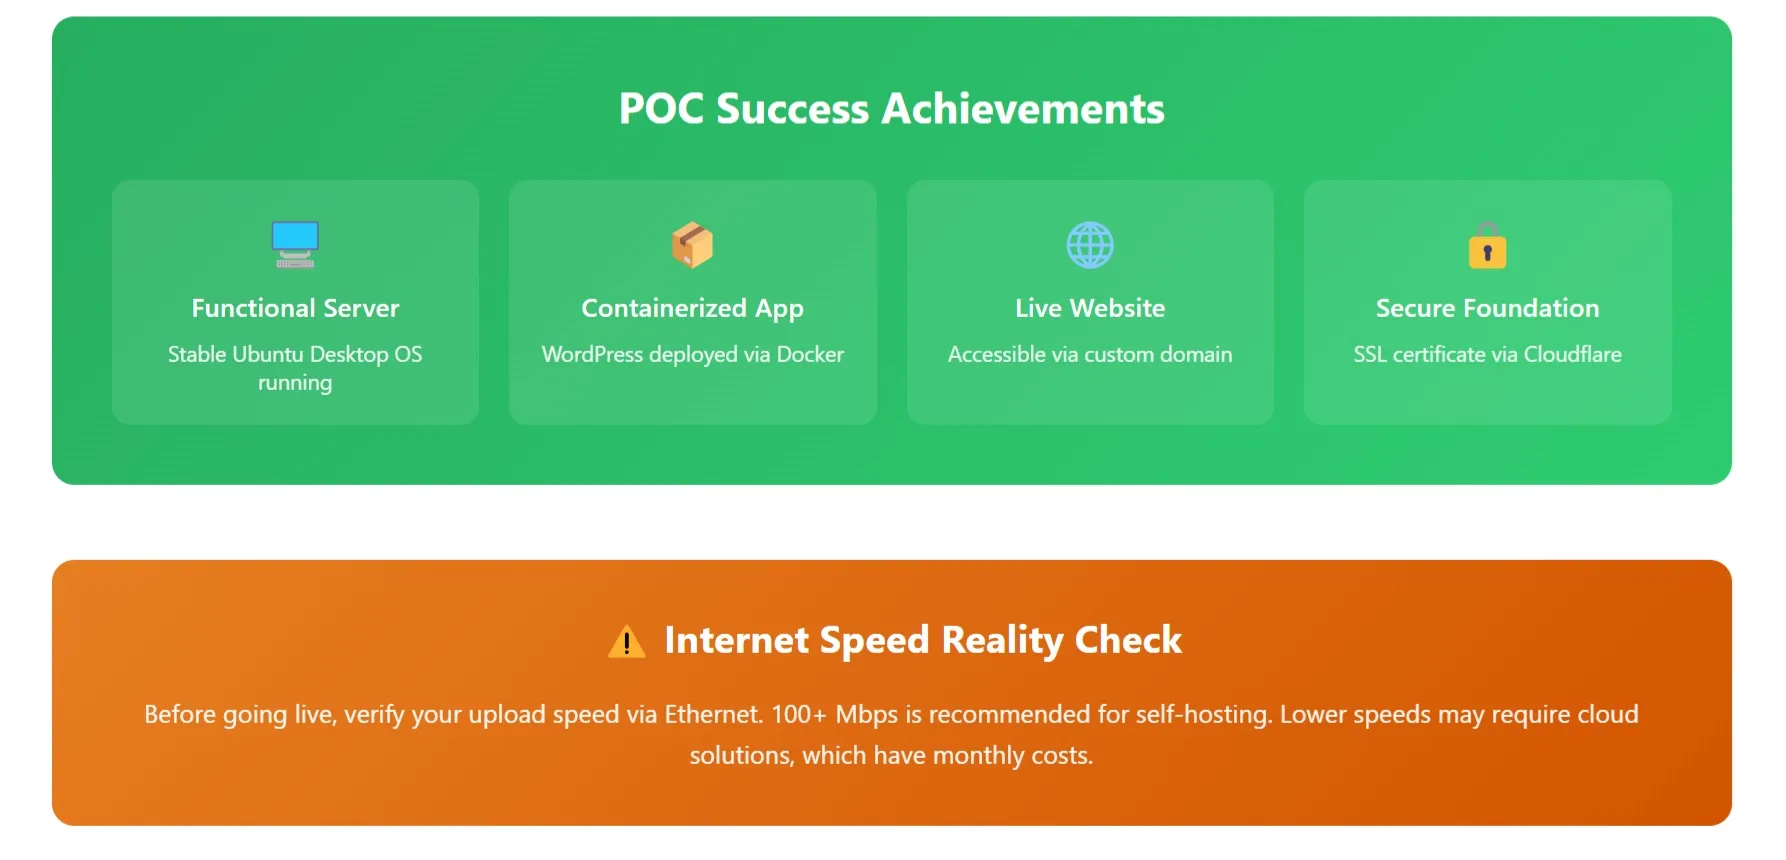
A Crucial Reality Check
Before you go live, check your internet speed, specifically your upload speed, when connected via an Ethernet cable. If your plan is around 100 Mbps or more, self-hosting can be feasible (my plan is 1 Gbps). Any slower, and you could face trouble. I would not recommend self-hosting at home and would suggest looking for a hybrid approach or a cloud solution. However, that will have a monthly cost, so if you can upgrade your plan, it can still be a much better long-term value.
Depending on whether you have a static IP or not, you can now configure Cloudflare to point to your IP. If you’re using the tunnel, it will be more work and require some competency to install the Cloudflare Tunnel via Docker.
Once that’s done, your site will go live, and it will be a blast!
The POC Reality Check: Successes and Next Steps
If you’ve followed along, you’ve just gone from a piece of hardware to a live website on the internet. This is a huge milestone! In our Day 0 post, we talked about setting “measurable success criteria” for our POC. Let’s see how we did.
Successes:
A Functional Server: You have a machine running a stable, powerful operating system (Ubuntu Desktop).
A Containerized Application: You have successfully deployed a real-world application (WordPress) using modern tools like Docker and Docker Compose.
A Live Website: Your site is now live on the public internet, accessible to anyone in the world via your own domain name.
A Secure Foundation: You have a basic layer of security and a free SSL certificate, thanks to Cloudflare.
This is a massive win and the core goal of our Day 1 build. Now, what’s next on the immediate horizon?
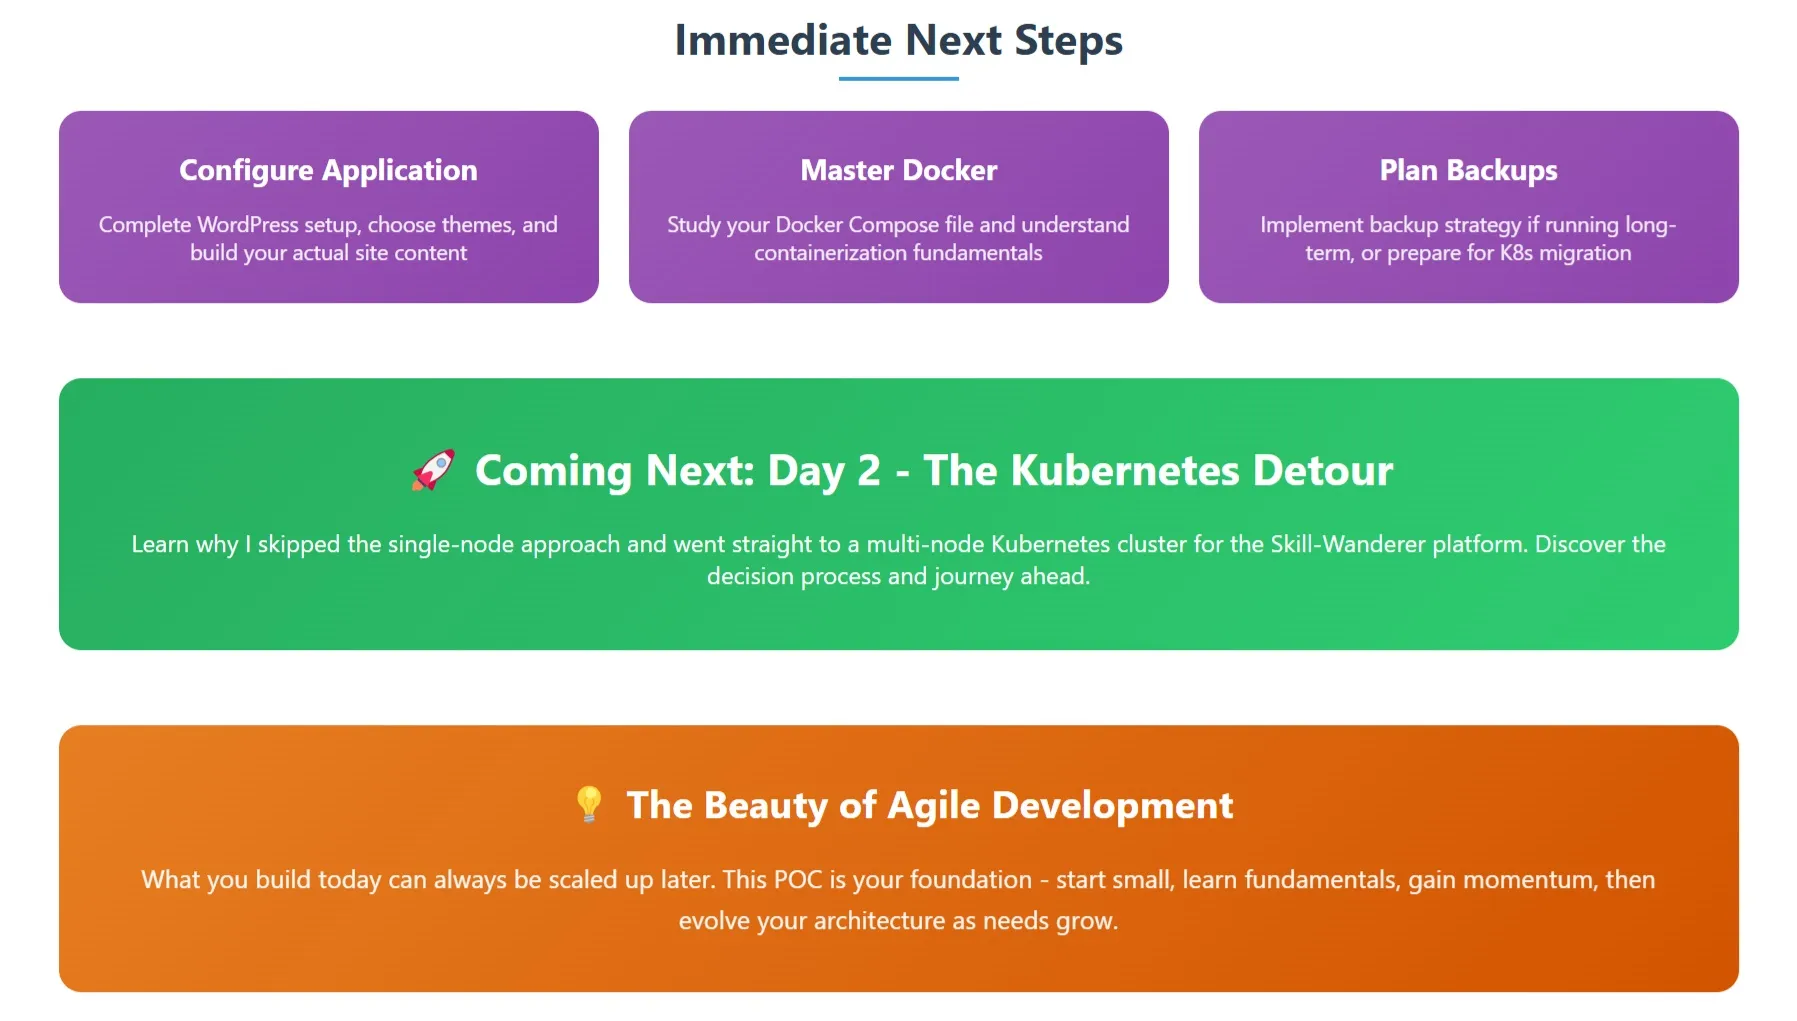
Next Steps:
Configure Your Application: The POC is about getting the platform running. Now you get to do the fun part: go through the famous WordPress setup, choose a theme, and start building your actual site.
Dive Deeper into Docker: If you are serious about building a home data center, learning Docker is a must. You used a Docker Compose file to get this running, perhaps with help from an AI. A crucial next step is to study that file and understand the fundamentals. As I said, I have a plan to make a course about Docker for Skill-Wanderer, but not very soon, so you have to make do without my course for now.
Plan for Backups: This depends on your goal. If you only intend for this to be a temporary POC to see how things work before you upgrade to a K8s multi-node setup soon, then you can skip this and we will do it when we migrate. If not, and you plan to run this single server for a while, then you should absolutely start thinking about your backup strategy now.
Wrapping Up Day 1
It’s important to acknowledge that this post is a bird’s-eye view. Only the key concepts and decisions were explained. If I were to write about the full, step-by-step process, it would become a course of its own—which I do intend to make for Skill-Wanderer, but not very soon.
That said, we have successfully moved from a strategic blueprint to a tangible, functioning result. We took a single computing device, installed a powerful OS, deployed a containerized application, and securely exposed it to the public internet. This process proves the value of starting with a manageable POC to build foundational skills and gain momentum.
Congratulations on completing the vital Day 1 build!
What’s Next? Day 2: The Kubernetes Detour
Now, I have to admit I took a detour. I actually did not do all of the steps above for my own project, because my goal was never a single-node server from the start.
So, for the next post in the “Chronicles of a Home Data Center” series: Day 2, we will dive into my decision to build the Skill-Wanderer platform directly on a multi-node Kubernetes cluster and my journey with it.
The Wanderer’s Log Update: Platform Progress
This post represents another milestone in The Wanderer’s Log series, where we build in public and share the journey of creating the Skill-Wanderer platform. While today’s focus was on the foundational POC approach that any learner can follow, it’s worth noting how this practical knowledge directly feeds into our mission.
The very infrastructure concepts we’ve explored today—containerization with Docker, domain management, and secure web exposure through Cloudflare—are the same technologies powering the Skill-Wanderer platform you’re reading this on. Our home Kubernetes cluster, which I’ll detail in Day 2, currently hosts our blog, learning management system, and identity services.
This real-world application of the technologies we teach isn’t coincidental—it’s central to our educational philosophy. When we eventually create that Docker course I mentioned, it will be informed by the actual deployment challenges and solutions we’ve encountered while building and scaling our own platform.
You Are Here at the Blog - Explore Our Full Ecosystem
Welcome to the Skill-Wanderer blog! This is just one part of our comprehensive ecosystem designed to transform how you learn and grow in technology. Here’s where you can connect with us:
🌐 Our Mission Hub: Skill-Wanderer.com
Discover our complete mission, values, and approach to education. This is your gateway to understanding how we’re building a better future for tech learning.
📝 Our Knowledge Base: wanderings.skill-wanderer.com
You’re currently reading our central hub for insights, tutorials, and behind-the-scenes content. Here we share technical deep-dives, learning strategies, industry perspectives, and “The Wanderer’s Log” series where we build in public and document our journey of creating better educational experiences.
🥋 Our Learning Dojo: dojo.skill-wanderer.com
Your hands-on learning destination where theory meets practice. Our comprehensive learning management system delivers courses, projects, and real-world challenges designed to build genuine expertise. The dojo is technically ready and our first courses are currently under development.
🤝 Coming Soon: Our Community Hub
We’re actively developing a dedicated community microservice that will connect learners, facilitate collaboration, and create spaces for knowledge sharing. This will be the heart of peer-to-peer learning and mentorship within the Skill-Wanderer ecosystem.
About Skill-Wanderer: Where Education Meets Real-World Impact
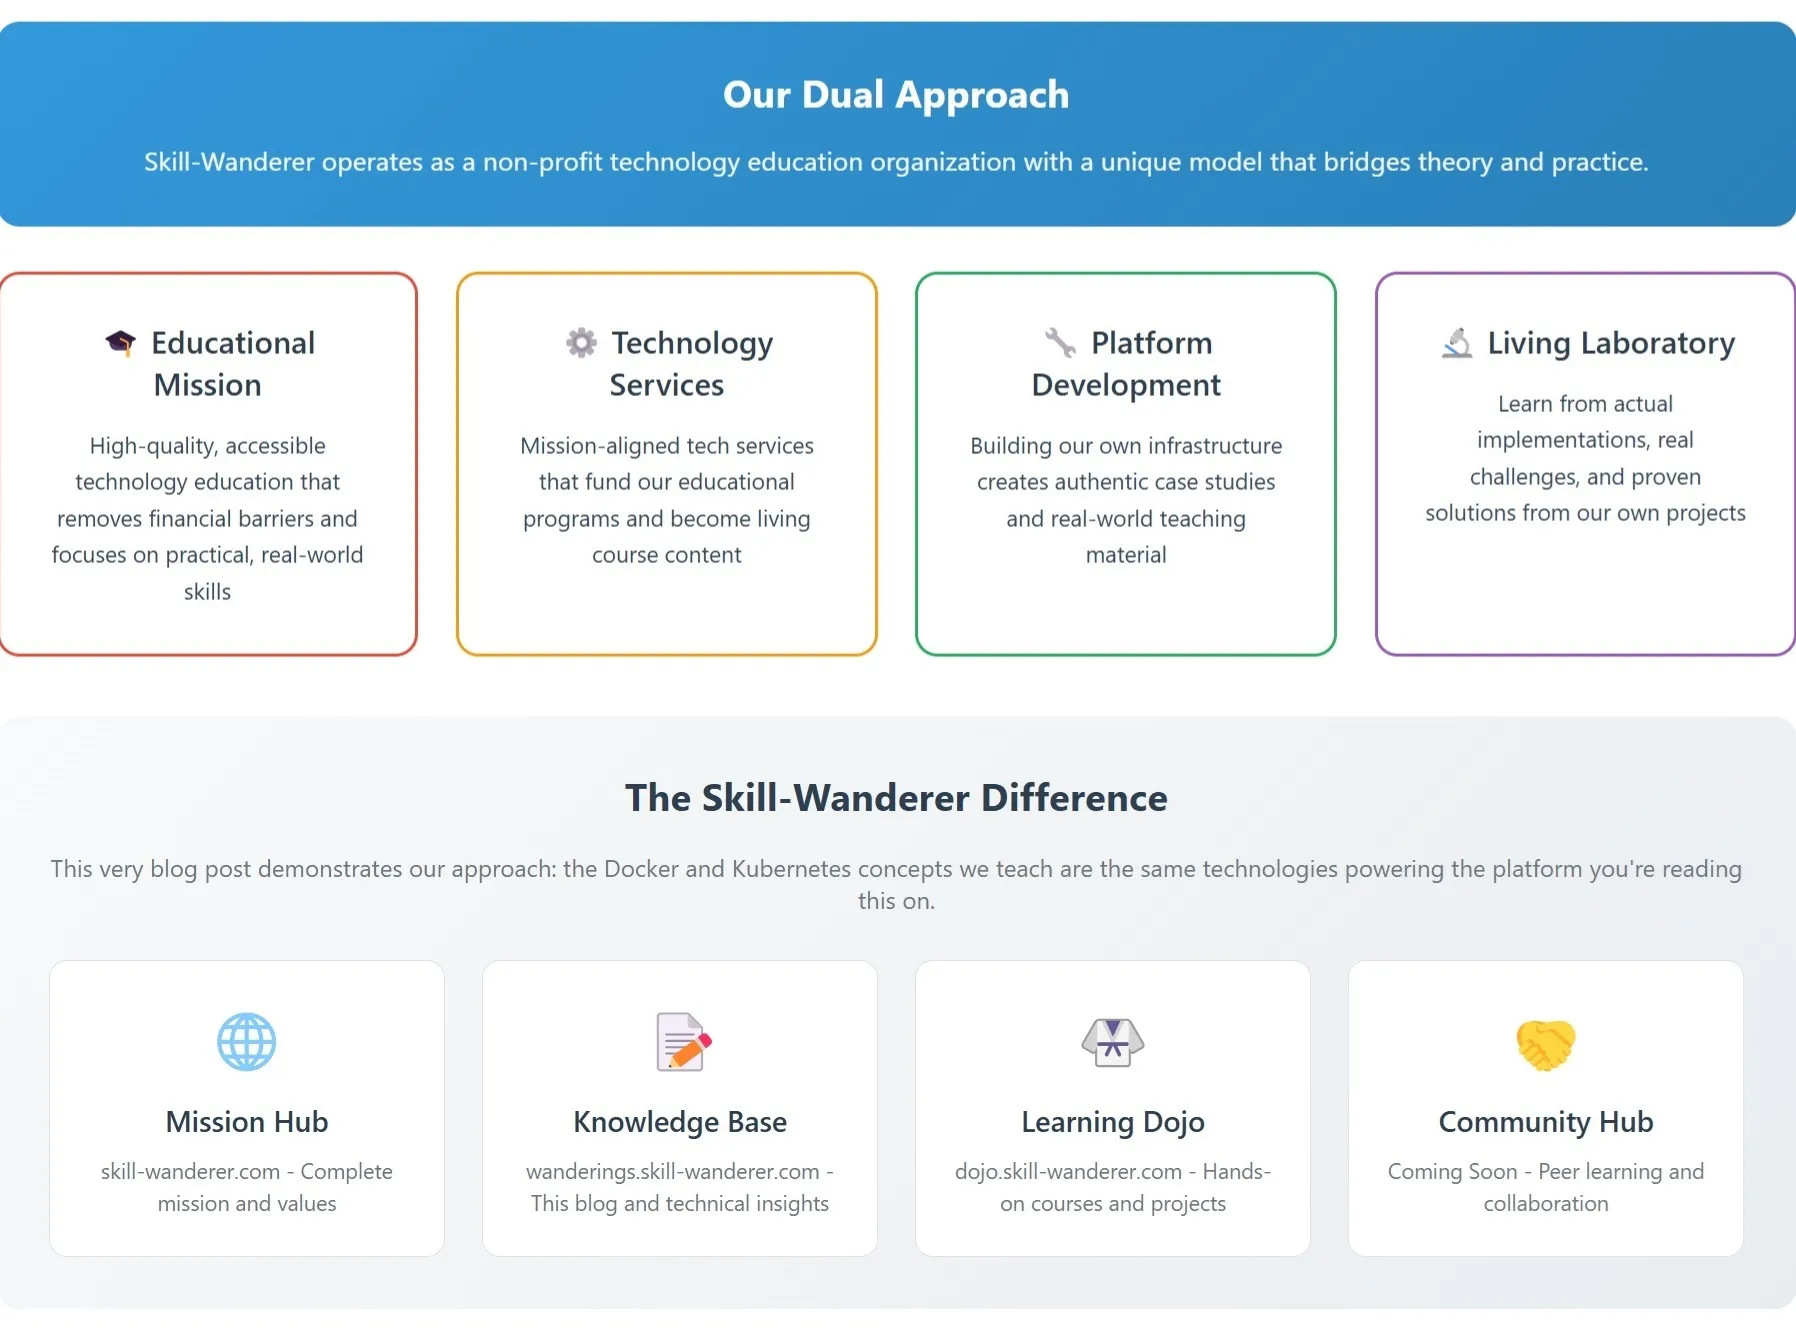
Skill-Wanderer operates as a non-profit technology education organization with a unique dual approach that sets us apart:
🎓 Educational Mission: We provide high-quality, accessible technology education that removes financial barriers and focuses on practical, real-world skills. Our courses are designed not just to teach concepts, but to prepare you for the challenges you’ll actually face in your tech career.
⚙️ Technology Services: We also operate mission-aligned technology services that serve a dual purpose:
- Funding the Mission: Revenue from our tech services directly funds our educational programs, ensuring sustainability without compromising our values
- Living Laboratory: Our real-world client work becomes the foundation for our educational content, ensuring everything we teach is current, relevant, and battle-tested
🔧 Platform Development as Learning: The experience of building and evolving the Skill-Wanderer platform itself becomes invaluable real-world content for our educational programs. Every technical decision, challenge overcome, and solution implemented in creating our own infrastructure provides authentic case studies and practical insights that we share directly with our learners.
This integrated approach means when you learn with us, you’re not just studying theoretical concepts—you’re learning from actual implementations, real challenges, and proven solutions. Our instructors aren’t just teachers; they’re practitioners actively working in the field, and that experience flows directly into our curriculum.
The Skill-Wanderer Difference: We bridge the gap between education and industry by being actively involved in both. Every course, every project, and every lesson is informed by real-world experience because we live and work in the same technological landscape we’re preparing you to enter.
Thank you for being here as we continue this journey together.